
ReplayBinary ProtocolDebuggingTCPHexDevelopment
Debugging a Custom Binary Protocol: Capture, Edit, Resend
A practical workflow for debugging a custom binary protocol: capture real traffic, read it in hex, change one field at a time, resend it, and compare the server's replies.
I
InterceptSuite Team
October 6, 2026·7 min read
Short answer: capture a few real messages, read them in hex, work out the framing, then change one field at a time and resend from InterceptSuite Replay. Comparing the server's replies is usually faster than reading the parser code.
Last updated 6 October 2026.
A toy protocol to practise on
Imagine a server that reads frames shaped like this:
| Bytes | Meaning |
|---|---|
| 1 | Message type (01 login, 02 ping, 03 data) |
| 2 (big endian) | Payload length |
| N | Payload |
A ping with no payload is 02 00 00. A login with the payload bob is 01 00 03 62 6f 62.
Step 1: capture real traffic
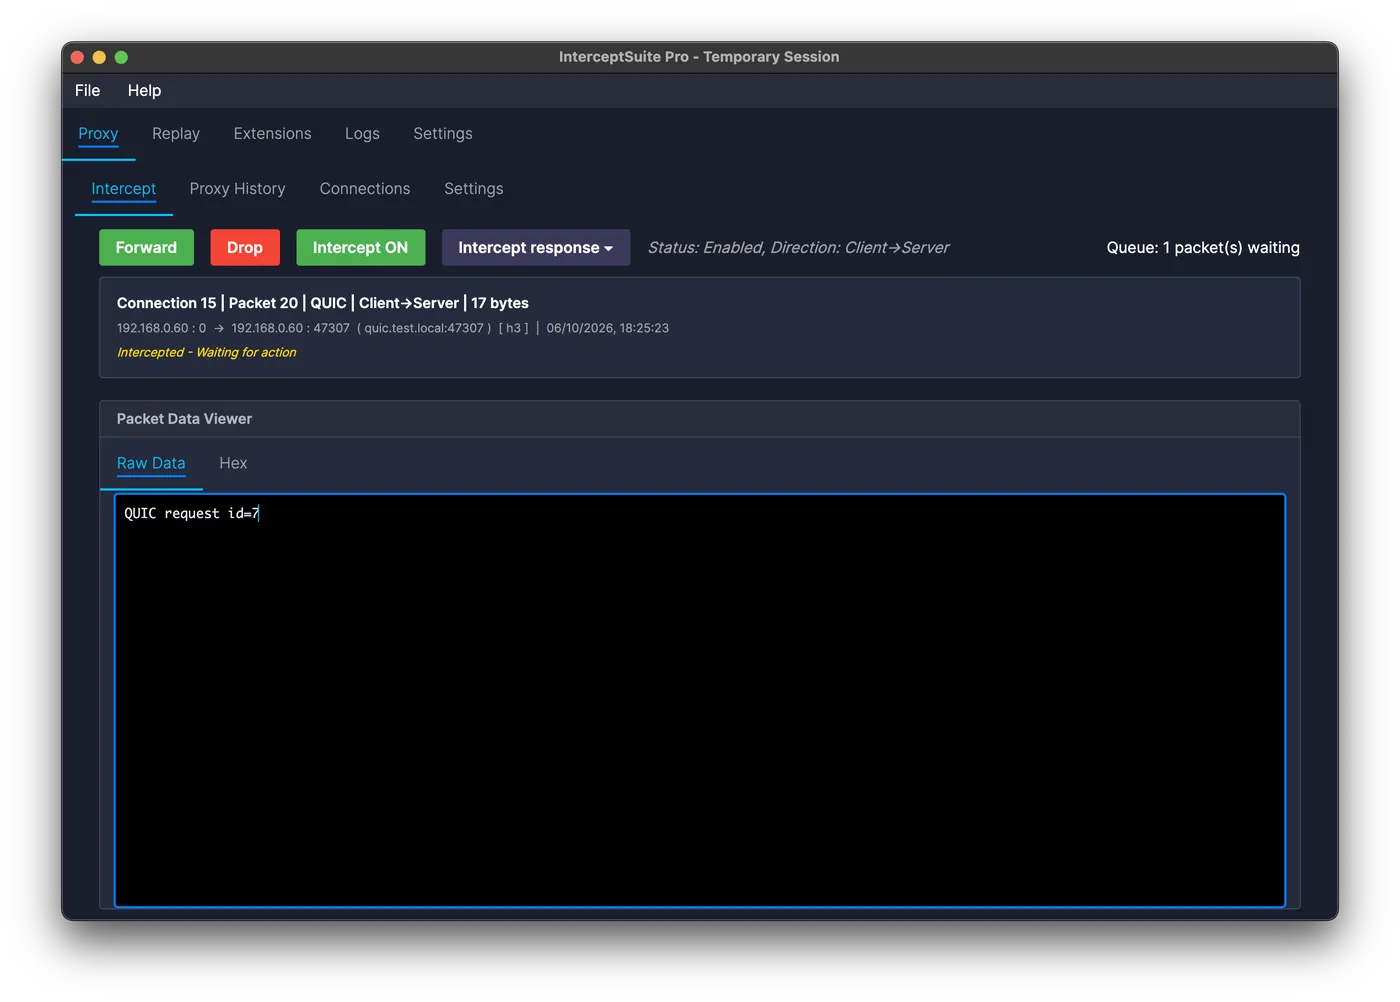
Point the client at the InterceptSuite SOCKS5 proxy, or use a redirector for apps that have no proxy setting. Every message appears in Proxy History with host, port, protocol and a raw/hex viewer. Turn on Intercept if you want to hold a message before it reaches the server.
Step 2: read the frames
Select a packet and open the Hex tab. Look for:
- A repeating first byte (a message type).
- A short number followed by that many bytes (a length prefix).
- Fixed headers such as magic bytes, and version fields.
- Text mixed into the bytes (names, paths, keys).
Capture the same action twice with different input and diff the two payloads. The bytes that change are the data.
Step 3: resend a message unchanged
Right-click the packet and choose Send to Replay, then click Send. If the server answers the same way, your session setup is right. If it refuses, the protocol has more state than one message, such as a login before data.
Step 4: change one field at a time
In the Hex tab:
- Length field. Make it too small, too large and zero. A robust server rejects all three cleanly.
- Message type. Try a value the client never sends.
- Payload. Shorten it, lengthen it and add non-ASCII bytes.
- Truncate the frame. Send fewer bytes than the length says and watch for a timeout.
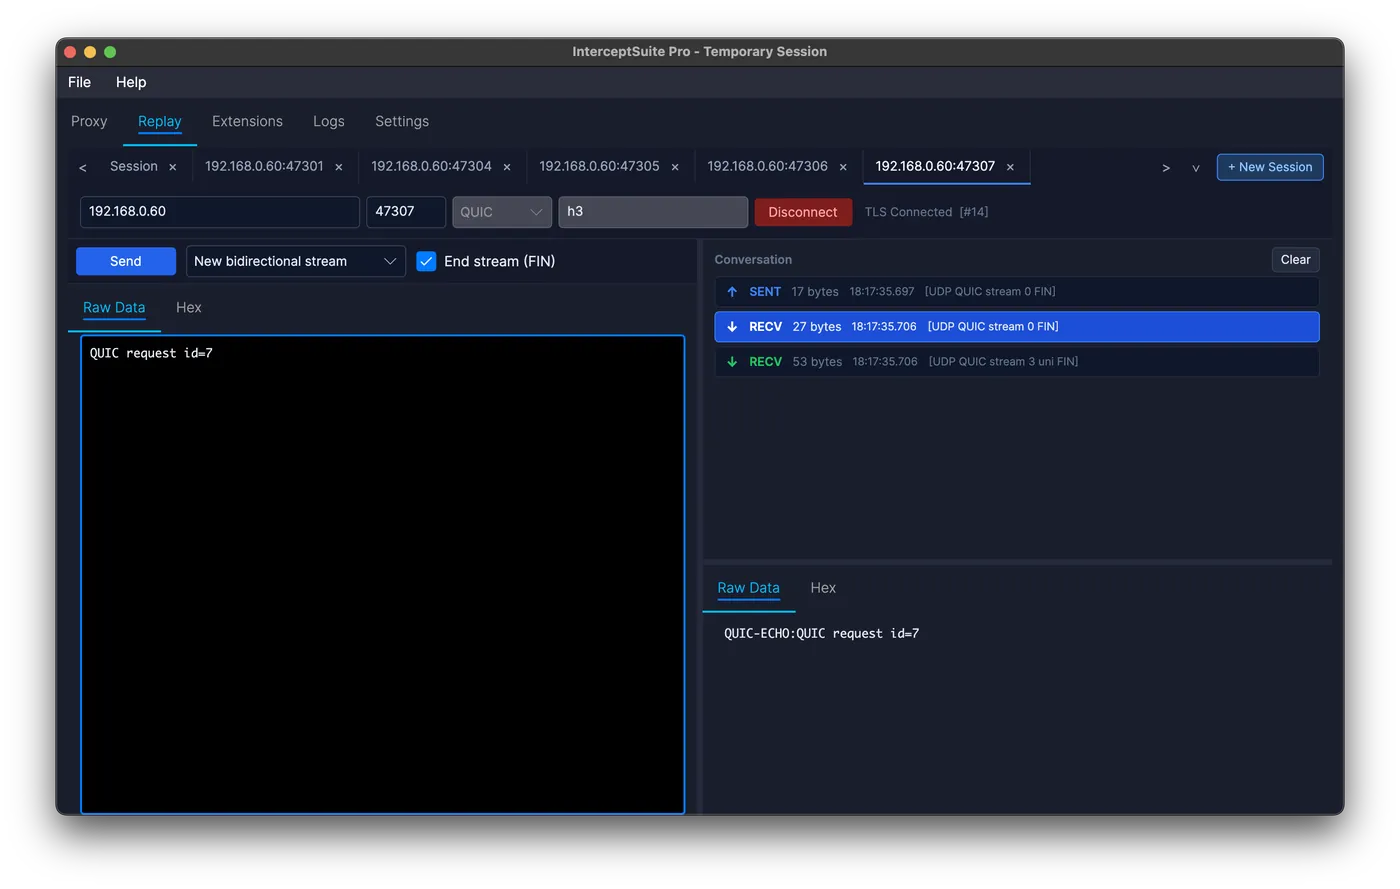
Keep each test in its own tab, so you can compare replies. The conversation panel lists every packet with direction, size and time.
Step 5: record what you learn
Sessions are saved with the project. Note the field layout, the replies for each change, and any input that made the server hang or close the connection. Those cases make good regression tests.
Add a decoded view
When the format is stable, a Python extension can add a tab that shows each message as fields instead of bytes, and re-encode your edits. See the extension API.
Limits and care
- Replay sends one payload at a time. It is not a stress-testing tool.
- If the protocol signs messages or uses sequence numbers, edited messages may be rejected by design.